Profiles help users to personalize:
- Mapping Specification grid in the Mapping Manager.
- Code Value Grid in the Codeset Manager.
You can create two types of profiles:
- Site Profiles: You can create a profile for other users by creating a site profile. Ensure that you specify the users who can access the site profile.
- User Profiles: You can create a profile for yourself. A user profile created by you cannot be accessed by other users.
The Default profile is available by default as a site profile for all the users. You cannot edit or delete this profile.
To create profiles, follow these steps:
- Go to Application Menu > Data Catalog > Resource Manager.
- Click the Profiles tab.
- Right-click the Profiles node.
- Click New Profile
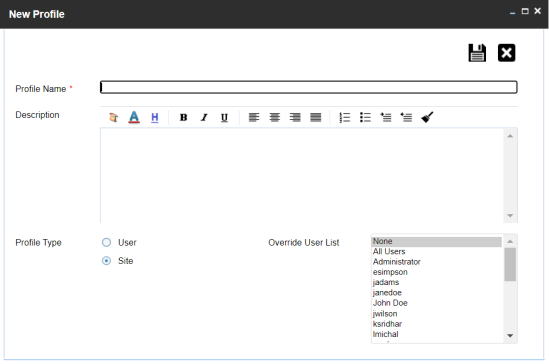
- Enter appropriate values in the fields. Fields marked with a red asterisk are mandatory. Refer to the following table for field descriptions.
-
To create the profile for yourself, select User.
-
To create profile for other users, select Site and select appropriate users from the Override User List.
-
Click
 .
.
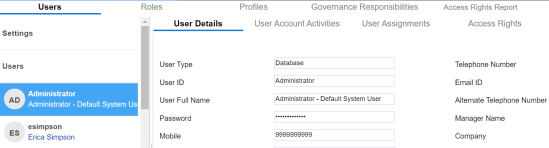
By default, the Users tab opens.

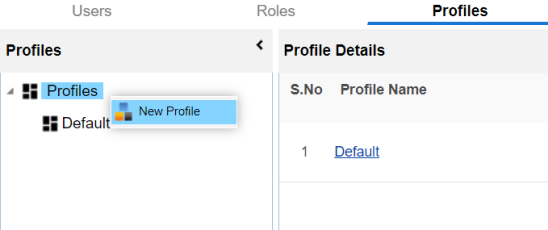
The New Profile page appears.
|
Field Name |
Description |
|---|---|
|
Profile Name |
Specifies the unique name of the profile. For example, Mapping_Admin_Profile. |
|
Description |
Specifies the description about the profile. For example: This is a site profile for mapping administrators. |
|
Profile Type |
Specifies type of the profile. |
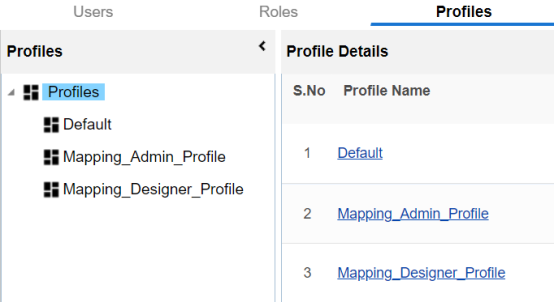
A profile is created and added to the Profiles tree.
Once the profile is created, you can set the following for the profile:
You can also manage profiles. It involves editing or deleting profiles. For more information on managing profiles, refer to the Managing Profiles topic.
|
Copyright © 2023 Quest Software Inc. |